
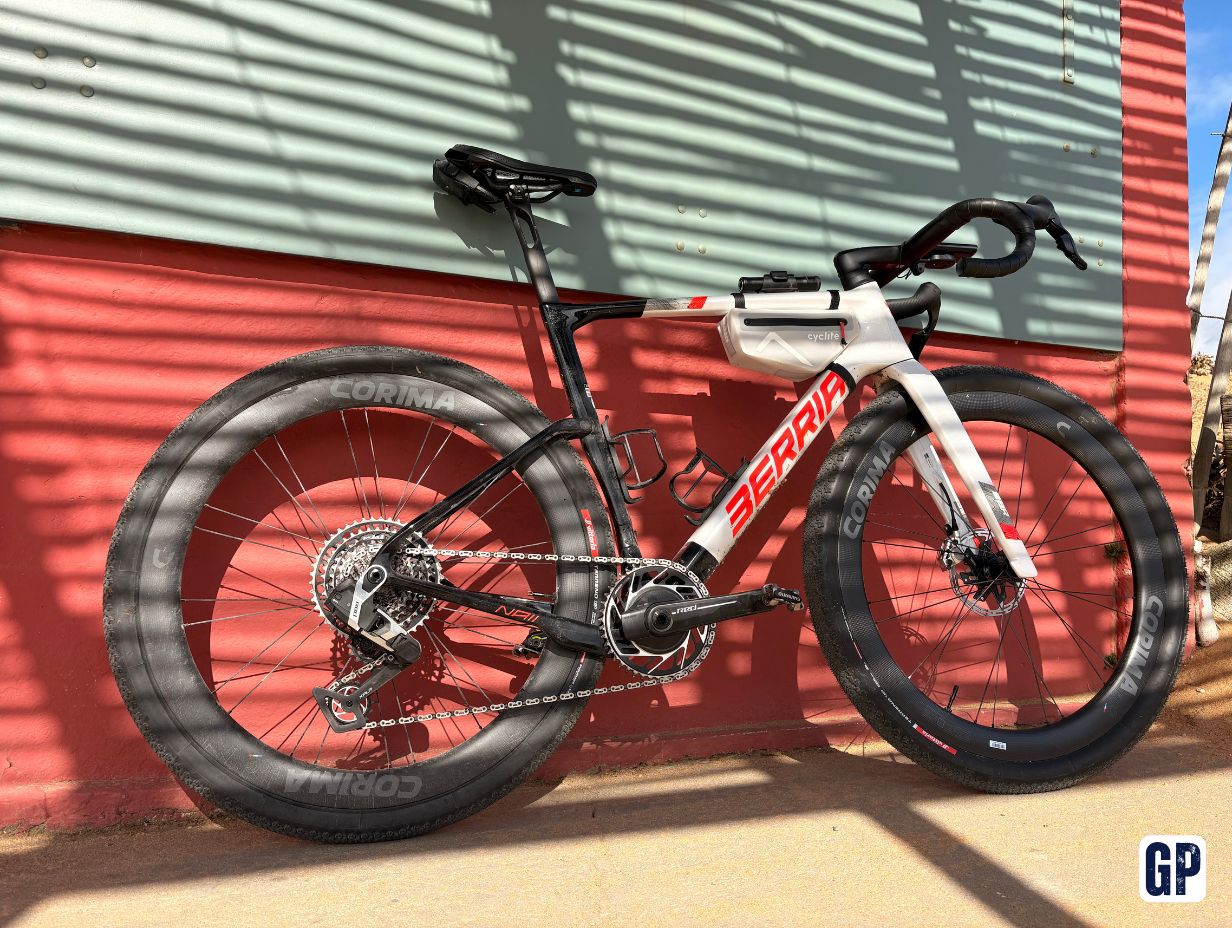

Tomorrow I’m lining up for the Gravel Burn. Seven stages, 750 km, about 8,500 m of elevation gain, a crossing of the Great Karoo in South Africa, and terrain I mostly know from stories, images and the organiser’s recommendations.
In short, I’m raring to go, but I’m not totally certain about every choice. In gravel, the perfect setup almost never exists. Choosing often means giving something up: an easier gear ratio, a power meter, a faster tyre, a sleeker bag, …

So this piece isn’t a verdict. It’s my start-line setup, with the reasons behind each choice, the compromises I accept, and the points that could well cost me dearly in a few days.
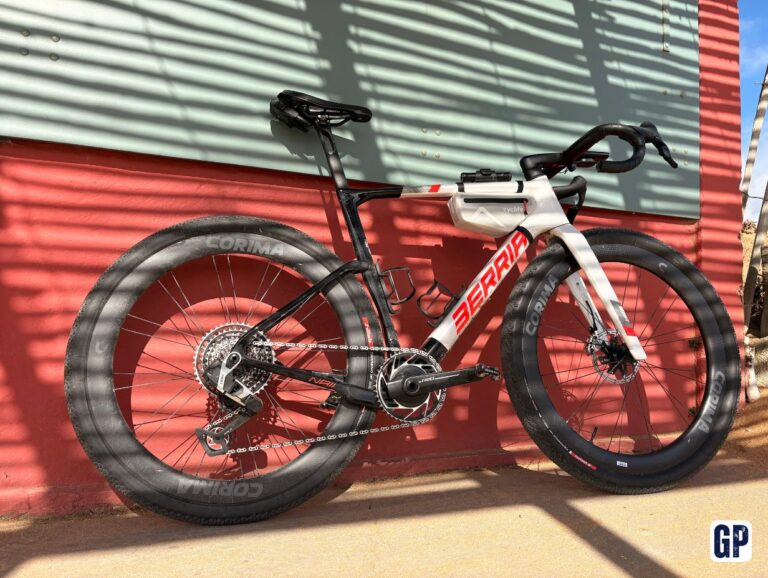
The bike: a Berria Naï BR, race-focused but not totally harsh
For this Gravel Burn, I’m riding a Berria Naï BR, a gravel race bike launched in 2025. The bike was loaned to me by Materiel-velo.com for the event, and I’ll do a proper review after the race, once it has seen enough dust, rocks and kilometres to tell a solid story.
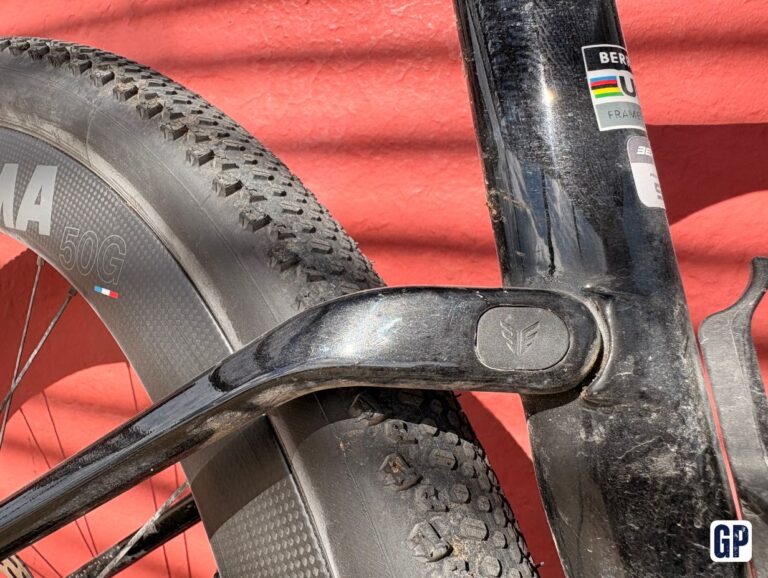
The interesting point is that this bike stays performance-oriented while integrating a rear system designed to add a touch of compliance. On an event like this, that’s no small detail. The Gravel Burn isn’t a quick spin on white roads: the organiser talks about demanding, punishing terrain, with long, back-to-back days. Even a small gain in compliance can end up counting.
As for the groupset, the build is very high-end: SRAM Red XPLR 13-speed, with an integrated power meter. That’s helpful for pacing over seven days, especially when I need to avoid blowing up in the first stages.
But there’s a real issue.
Gearing: the choice I’ll watch very closely
The bike is set up with a 44-tooth chainring and a 10-46 cassette. In the Vendée, that gearing suits me very well. I’m even used to running a slightly bigger ring up front.
In South Africa it’s a different story. The total elevation announced isn’t huge if you look at it overall, but it will be there almost every day. And above all, 8 percent on a smooth track is nothing like 8 percent in a rock garden, when you have to keep traction, avoid impacts and get back on the gas without sitting in a grinding effort for too long.
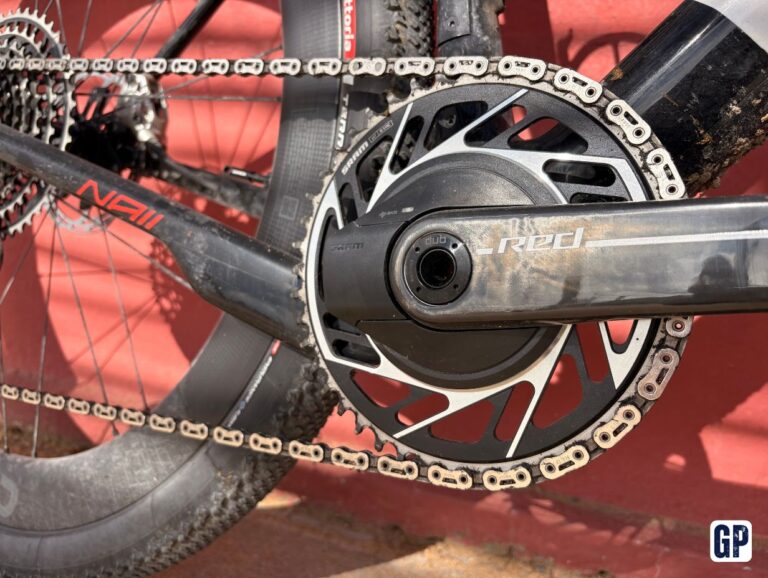
I could have fitted a smaller chainring. The problem is that the chainrings available to me would have meant losing the power meter integrated into the crankset. In a stage race, that meter can help me stay clear-headed, not blow too early, and meter the effort when the euphoria of the start pushes you to ride too hard.
So I’m sticking with this 44-tooth ring. A slightly bold choice, maybe too bold. I’m not the most high-cadence rider once the gradient bites. It could force me to keep the tempo. It could also stall me on some steep, rough ramps. We’ll see in a few days.
Wheels and tyres: priority to volume, not pure rolling efficiency
For wheels, I’m going with the Corima 50G. I tested them earlier this year, and this wheelset stood out to me for its appealing price point and 27 mm internal width.
The 50 mm rim depth will be exposed. On rocky terrain, with speed and fatigue, impacts can quickly become the real issue of the day. The goal will be simple: ride fast when possible, but preserve the equipment when the terrain turns rough.
The Berria frame is limited to 50 mm of tyre clearance. On the rear I’ve fitted a Vittoria Terreno T50 in 50 mm, measured at 50 mm on the Corimas. Up front, I’ve taken a bolder bet: a Terreno T50 in 55 mm, measured at 52 mm, because I had a bit more room.
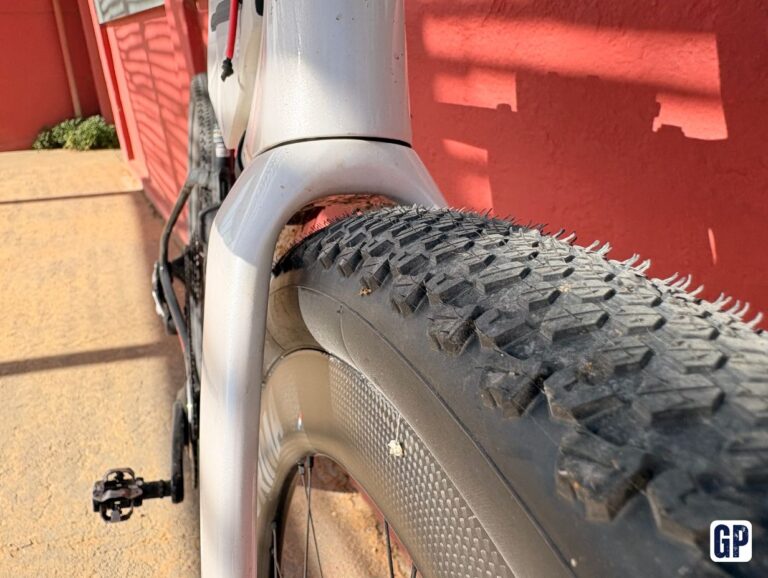
It’s deliberately wide. In this kind of event, I prefer to lose a bit of snap and gain in safety, comfort and confidence in the technical sections. Before trying this sort of setup, you obviously need to check the frame’s actual clearance, because a tyre listed at a given width can measure differently depending on the rim. In both cases I still have 0.6 – 0.8 mm of clearance on each side of the tyre.
I could have chosen the Pro range at Vittoria, which I find faster. But it doesn’t go beyond 45 mm in this family. For seven days, I’ve prioritised volume, durability and comfort. It’s not necessarily the fastest choice for a single day. Over a week, it could prove smarter.
Inserts: recommended, tried, dropped
The organiser recommends starting with inserts. The idea makes sense: better protect the rim, be able to drop pressure a bit, and above all increase the chances of finishing a stage in the event of a major puncture.
I wanted to do it. Really.

I spent over an hour trying to fit them, without managing to get the tyre to seat properly. That doesn’t mean it’s impossible. It simply means that in my case, with this setup and the time available, I didn’t see myself starting with a system I didn’t master perfectly.
The reasoning is quite simple: if I struggle in a garage, in calm conditions, with time on my side, what will it look like in the middle of the South African desert, tired, in a rush, with sand everywhere and maybe 80 km still to ride?
So I’m rolling out without inserts. It’ll be one of the most sensitive points of my setup. I’ll need to be clean on my lines and very vigilant with pressures.
Repairs: not fully self-sufficient, but no stupid gamble
The Gravel Burn is a full-service stage race. This isn’t a self-supported crossing. The pros will probably set off with the bare minimum, especially those racing to win.
I prefer to plan a bit more. Not excessively, but enough to handle the classic incidents: puncture, plug, valve, small drivetrain issue, tightening, quick fixes. The organiser also recommends a very complete base kit: multitool with chain breaker, pump, CO2, sealant, quick link, tubeless kit, tyre levers, valve core, inner tube, spare AXS battery, derailleur hanger, pads, zip ties, tape.
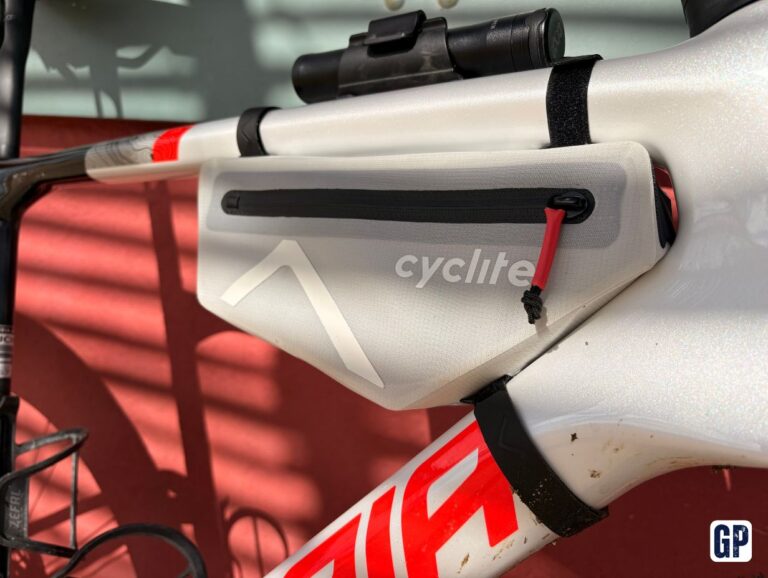
The Berria doesn’t offer internal storage. And squeezing in an inner tube compatible with 50 mm tyres isn’t trivial: it takes up a lot of volume. So I chose a Cyclite frame bag.
Yes, it can look bulky for a race setup. But it remains ergonomic, offers useful volume, and also lets me slip in a light rain jacket. The weather can change quickly there, and a lightweight jacket can become far more valuable than a visually cleaner bike.
I had planned at first to run a small Cyclite top tube bag. Problem: the top-tube mounts are too recessed on this frame, and the fastening system wasn’t secure enough for committed gravel. I preferred to give up on it rather than add a stress point.
Tools: some duplication, but deliberate duplication
I use a PRO 3D saddle with an integrated tool mount. The multitool slots directly in behind the saddle, neatly, without an extra bag.
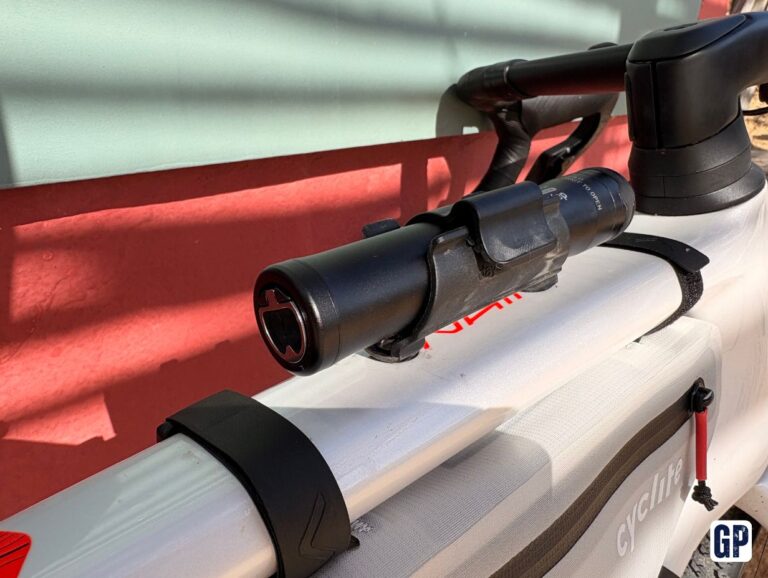
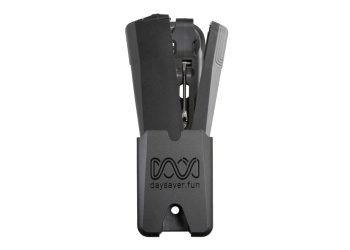
On the top tube I also mount a DaySaver tool, which acts as a mini-pump and integrates several functions, including a plug tool. Yes, there’s a bit of duplication with the multitool under the saddle. But between a seven-day race on rough terrain and a simple training ride at home, I don’t think the same way.

The real plan A, in case of a puncture, will be a plug. Very honestly, on terrain this hard, I don’t rate an inner tube’s chances if it has to be fitted in a hurry in a wide tyre, with the associated risk of pinching.
The inner tube remains a fallback solution. Not the one I want to use.
Hydration and nutrition: keep the pockets almost empty
I like riding with my jersey pockets as light as possible. On this Gravel Burn I’ll mostly keep a few gels in the jersey, but I don’t want to turn my rear pockets into a camping store.
On the longest stages I’ll set off with a hydration pack. It’s not always my preference, but the risk of running out of water is too high. And on chaotic terrain, losing a bottle can happen very quickly. When the heat builds and the stage drags on, that kind of detail can ruin a day.

Again, it’s not the most minimalist setup. It’s the one that leaves me some margin. For the bottle cage, I’ve opted for the Zéfal model, which allows side entry, a very secure hold and, above all, an optimal adjustment range.
Shoes: stiff, but not masochistic
For shoes, I’m going with the Shimano S-Phyre. For me, they remain a benchmark: very stiff, but comfortable enough not to become a problem on long days.
In a seven-day event, shoes shouldn’t only transfer power well. They should also disappear, limit hot spots, stay stable when you have to put a foot down and not become a source of annoyance by day three.
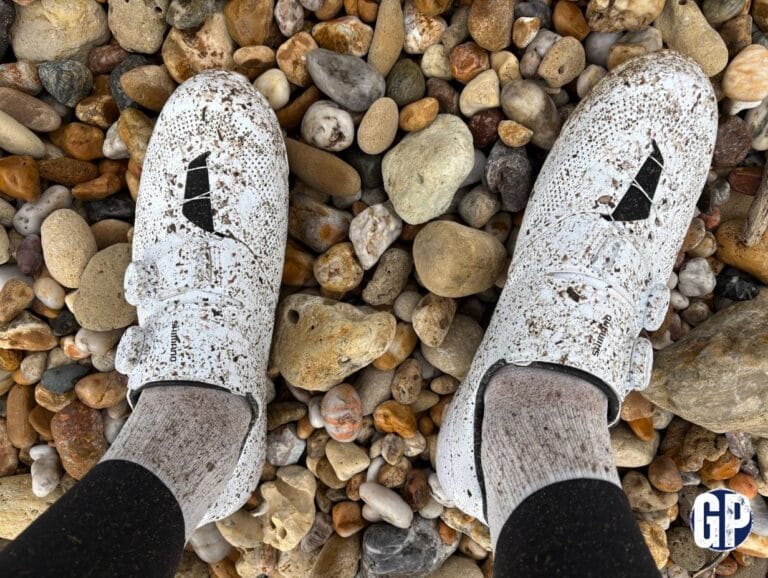
It’s a fairly simple choice in my case: I prefer to go with a pair I know and trust.
This setup is a recipe, not a truth
If I had to summarise this build, I’d say it leans towards caution on tyres, repairs and hydration, but keeps a real gamble on the gearing and the absence of inserts.
The bike is fast. The tyres are big. The wheels are efficient but exposed. The frame bag spoils the pure race look a bit, but it answers a real need. The 44-tooth chainring could become my best ally on the fast-rolling, or my worst enemy in the rougher passages.
I don’t yet know if it’s the right recipe. And that’s precisely what makes this start interesting.
In about ten days, I’ll be able to say what held up, what saved me, what I’d change without hesitation and what seemed debatable but ultimately proved right. For now, there’s only one thing to do: roll off the start line.