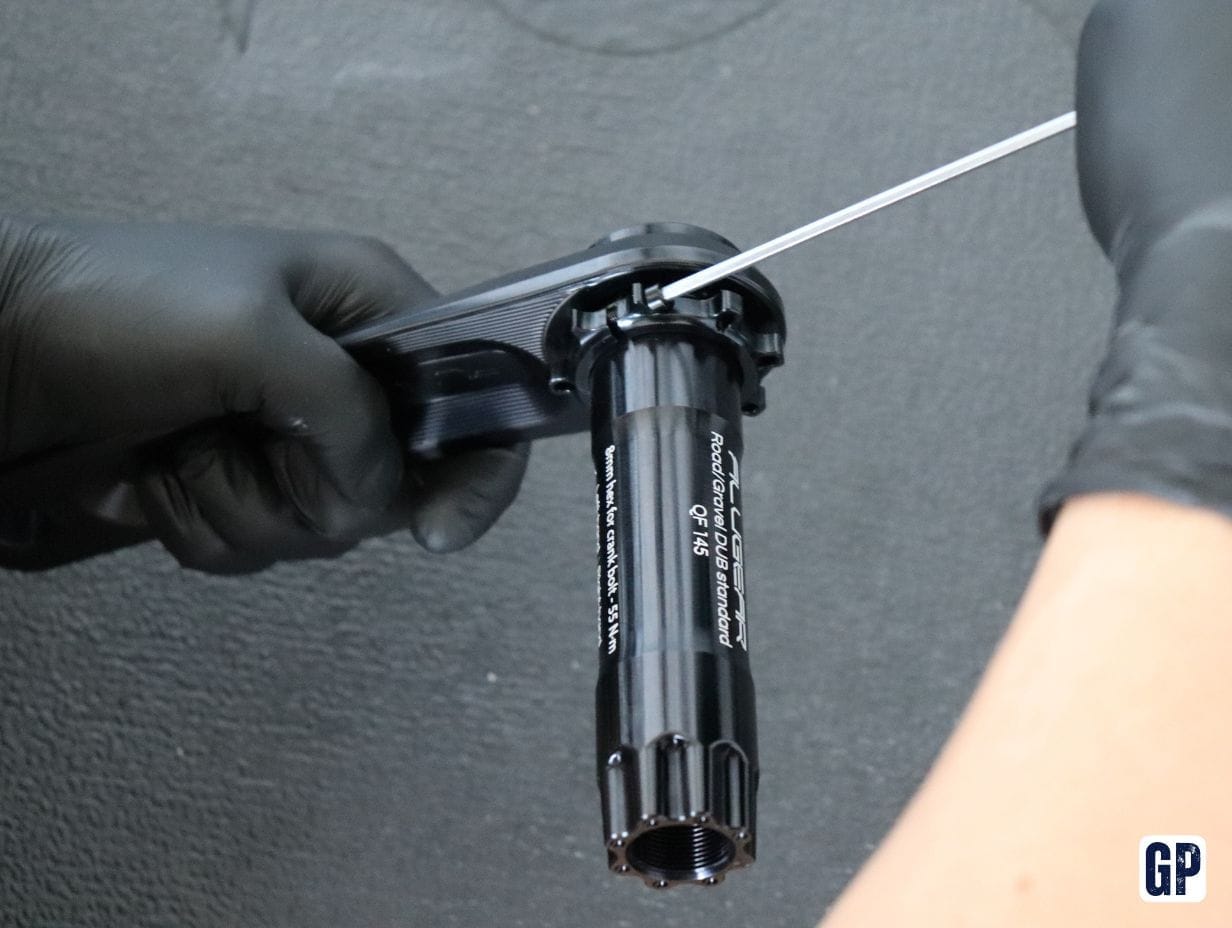
SRAM cranksets with an 8-bolt direct-mount interface are relatively straightforward to take apart, provided you follow a set sequence and observe a few key cautions.
Tools required
- 8 mm Allen key
- Small Allen key for the preload collar (varies by crank brand)
- T20 Torx key (fits SRAM 8-bolt chainring bolts)
- Torque wrench with 8 mm Allen and T20 Torx bits
- Assembly grease
- Mallet (not a hammer).
Before you start:
- Switching to a larger chainring requires a chain change (longer chain), while a smaller chainring needs a shorter one (no need to buy a new chain – just remove a few links).
- After fitting or removing chainrings or cranks, recalibrate SRAM power meters (SRAM Spider or Quarq) if you have one.
- If you change sizes on a double chainring set-up, you will need to readjust the front derailleur.
Step 1 - Put the bike in a working position
Mount the bike on a workstand or a turbo trainer. The aim is simple: work on a perfectly stable bike.
Step 2 - Loosen the preload collar
Left-hand side of the bike (opposite the drivetrain):
- Undo the small screw on the preload collar.
- Turn the collar until it contacts the crank arm.
👉 At this point, the collar no longer applies any preload to the crankset.
Step 3 - Remove the right crank
Drive side:
- Insert the 8 mm Allen key into the right crank.
- Undo fully anticlockwise.
⚠️ If you’re changing your cranks, remember to remove the pedals first.
The right crank and chainring will generally come away in your hand.
Make sure you retrieve the spacer(s) against the bottom bracket.
💡 The longer the lever on your Allen key, the easier it will be to undo the crank bolt.
Step 4 - Remove the axle and the left crank
The left crank remains engaged in the bottom bracket on the DUB axle.
To remove it:
- Push the axle through with your thumbs. If that isn’t enough, use a mallet to give a light tap to the axle on the right-hand side.
- The axle + left crank assembly exits on the left.
⚠️ Use a mallet only (not a hammer) to avoid damaging the axle, frame or bottom bracket.
Step 5 - Separate the chainring from the crank (8-bolt)
The SRAM system uses 8 Torx bolts.
- Undo the 8 bolts.
- Separate the chainring from the right crank.
You now have:
- a bare right crank,
- a separate chainring.
Step 6 - Refit the chainring or replace the crank
Replacing the chainring
- Position the new chainring against the crank.
- Refit the 8 bolts.
- Tighten to the torque printed on the chainring (generally 4 Nm).
Replacing the cranks
- Fit the new compatible crank to the chainring.
- Refit the 8 bolts.
- Tighten to the torque printed on the chainring (generally 4 Nm).
Step 7 - Reinstall the DUB axle and the left crank
Loosen the preload collar again (if you changed cranks): undo the screw and turn the collar until it contacts the crank.
Lightly grease both ends of the DUB axle (the areas that will contact the bottom bracket). Insert the axle and the left crank from the left-hand side of the bike.
Refit the spacer(s) to their original arrangement (with SRAM, the spacers are always on the right-hand side of the bike, between the bottom bracket and the chainring).
Step 8 - Reconnect the chainring and the right crank
- Position the crank arms 180° apart.
- Slide the right crank onto the axle.
- Tighten with the 8 mm Allen key.
👉 Recommended torque: 40 to 50 Nm
Step 9 - Set the preload collar
Left-hand side:
- Screw the preload collar in until it contacts the bottom bracket.
- Do not overtighten – no excessive preload.
- Tighten the small locking screw.
Step 10 - Check for play
Hold both cranks and move them perpendicular to the crank axle:
- No play → correct installation
- Play present → adjust the preload collar
In that case:
- Loosen the screw.
- Reposition the collar.
- Retighten.
Step 11 - Refit the chain
Refit the chain onto the chainring.
The bike is ready to ride!
(Except if you changed the tooth count on a double chainring set-up – in that case, you still need to adjust the front derailleur).
Points to watch
- Always use a torque wrench
- Follow the torque values specified on the components
- Never overtighten the preload collar
- Use a mallet only, never a hammer